Tesla Home Charger Install Done the Right Way
A lot of Tesla owners plug into a standard outlet for months thinking it's fine. It works - sort of. But it's slow, it wasn't designed for that kind of sustained load, and it's not up to code for a permanent charging setup. Eventually, most people come around to doing it the right way.
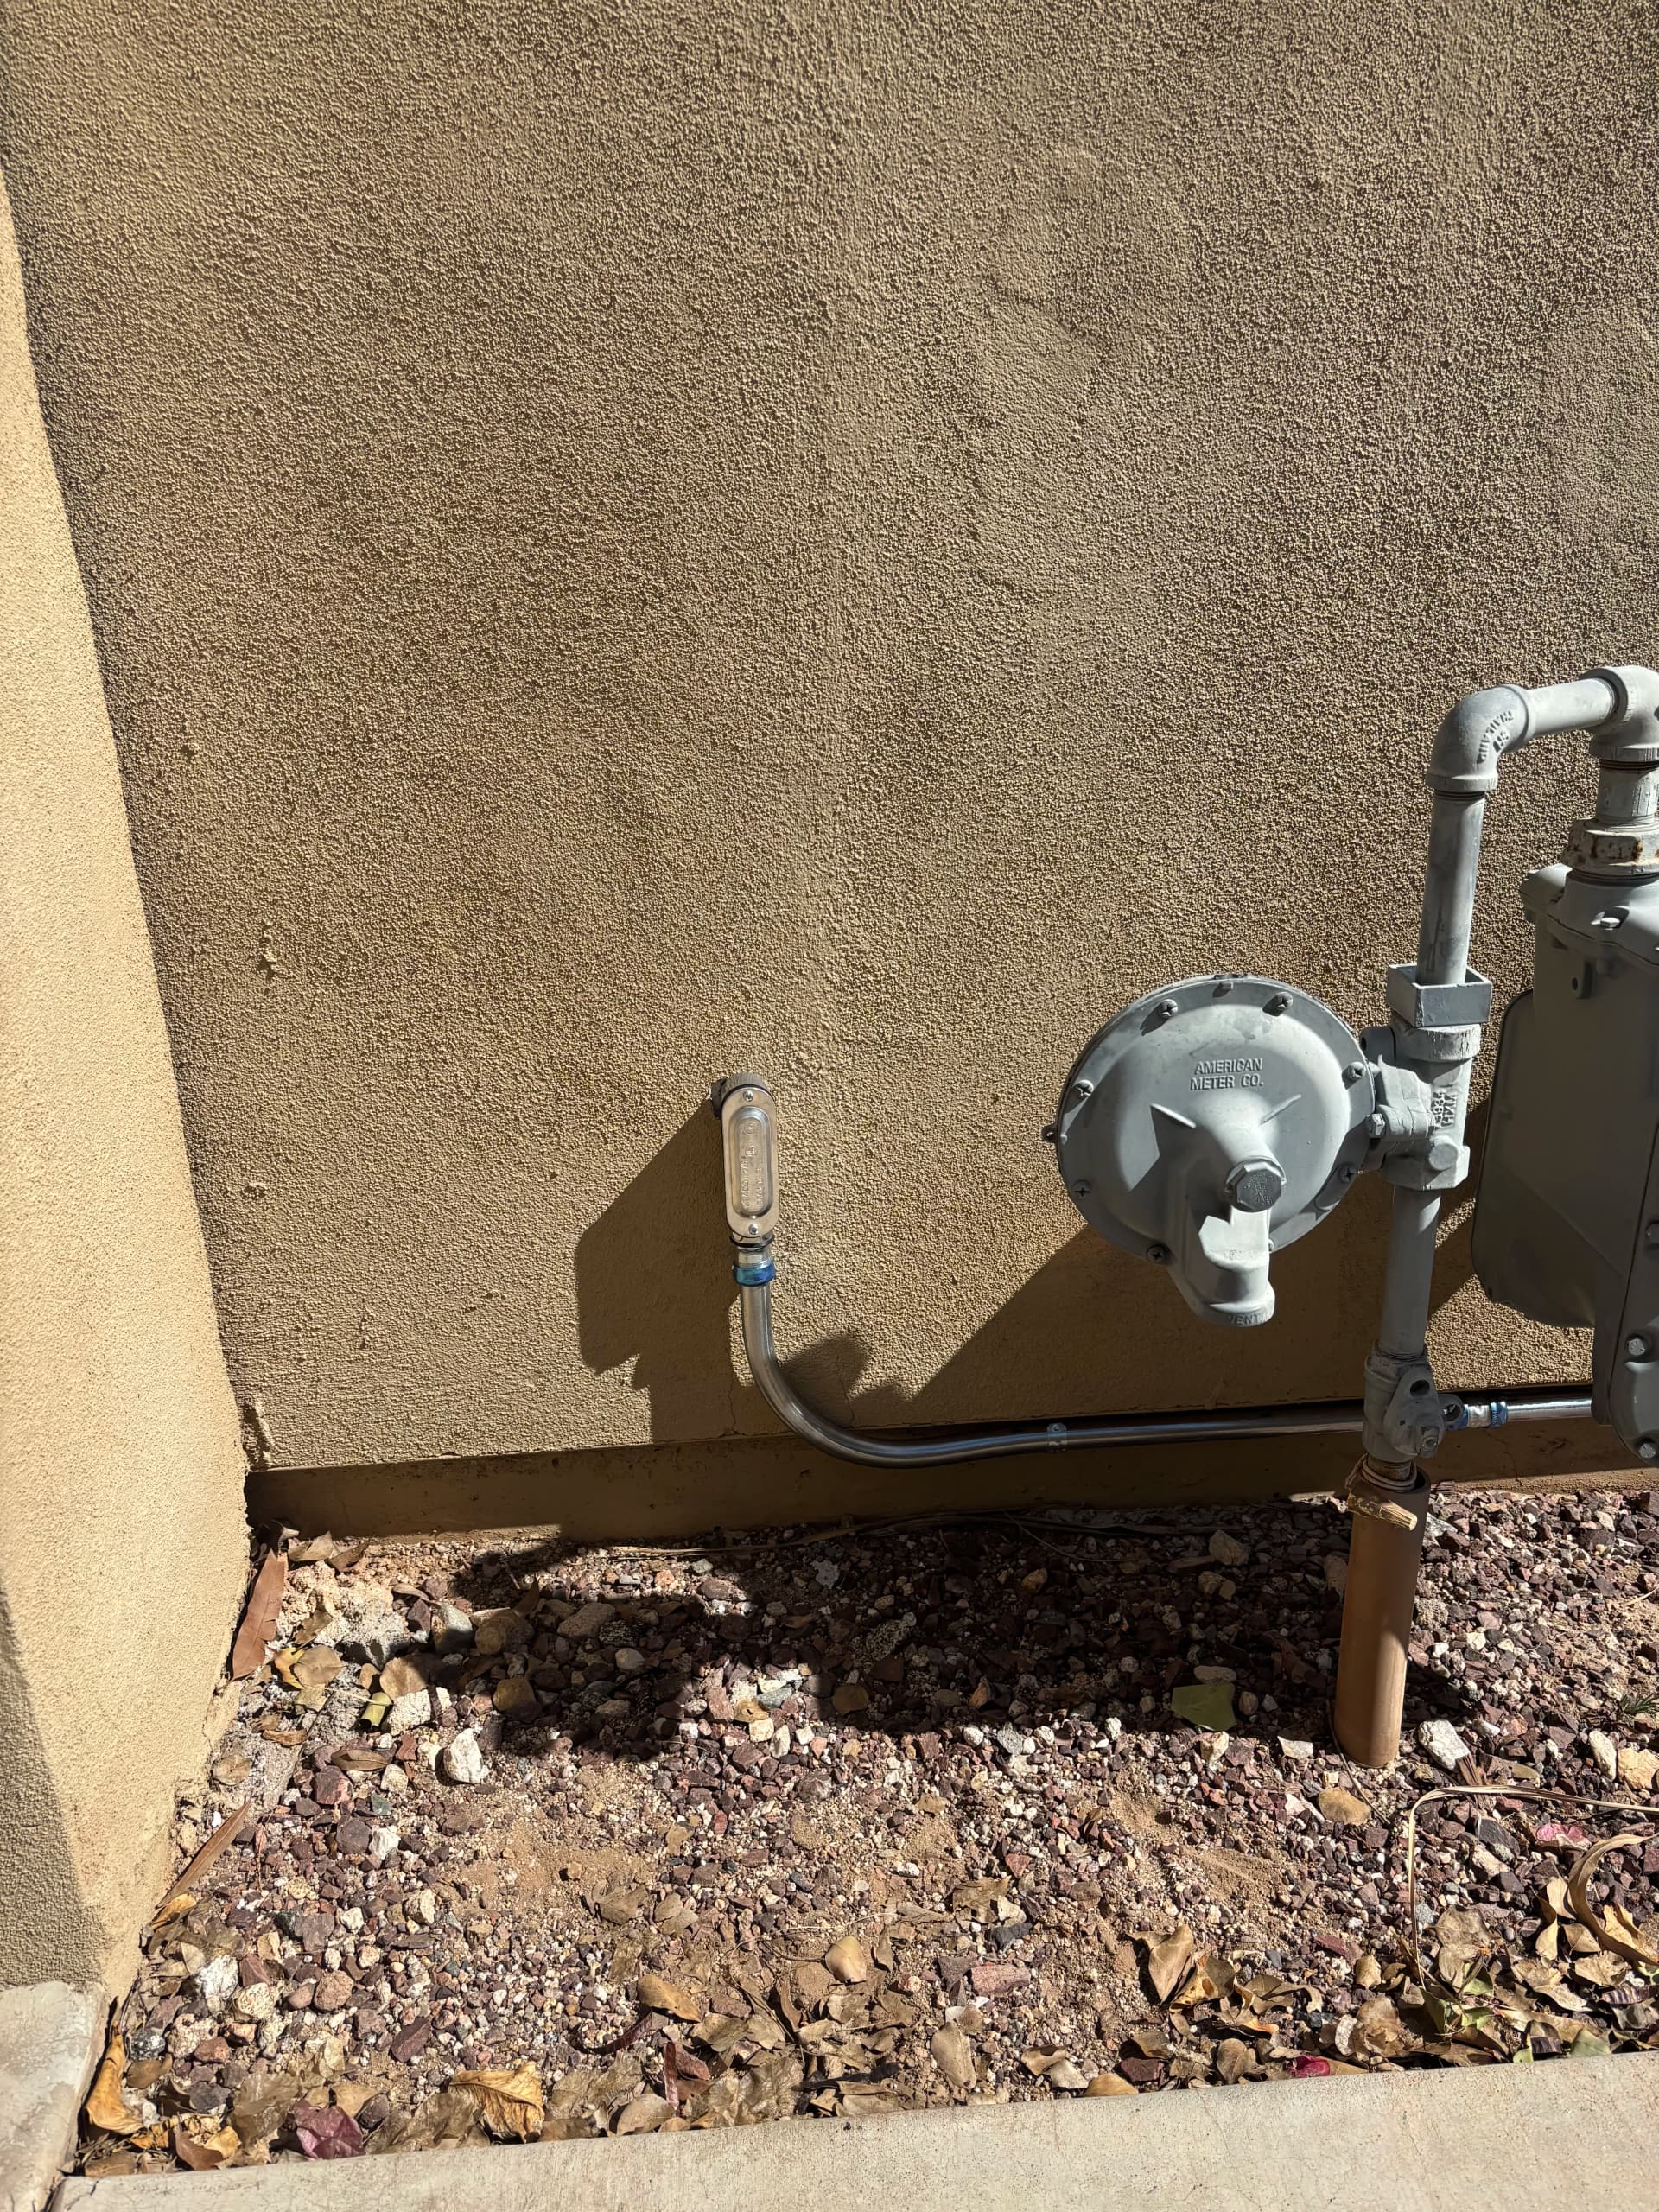
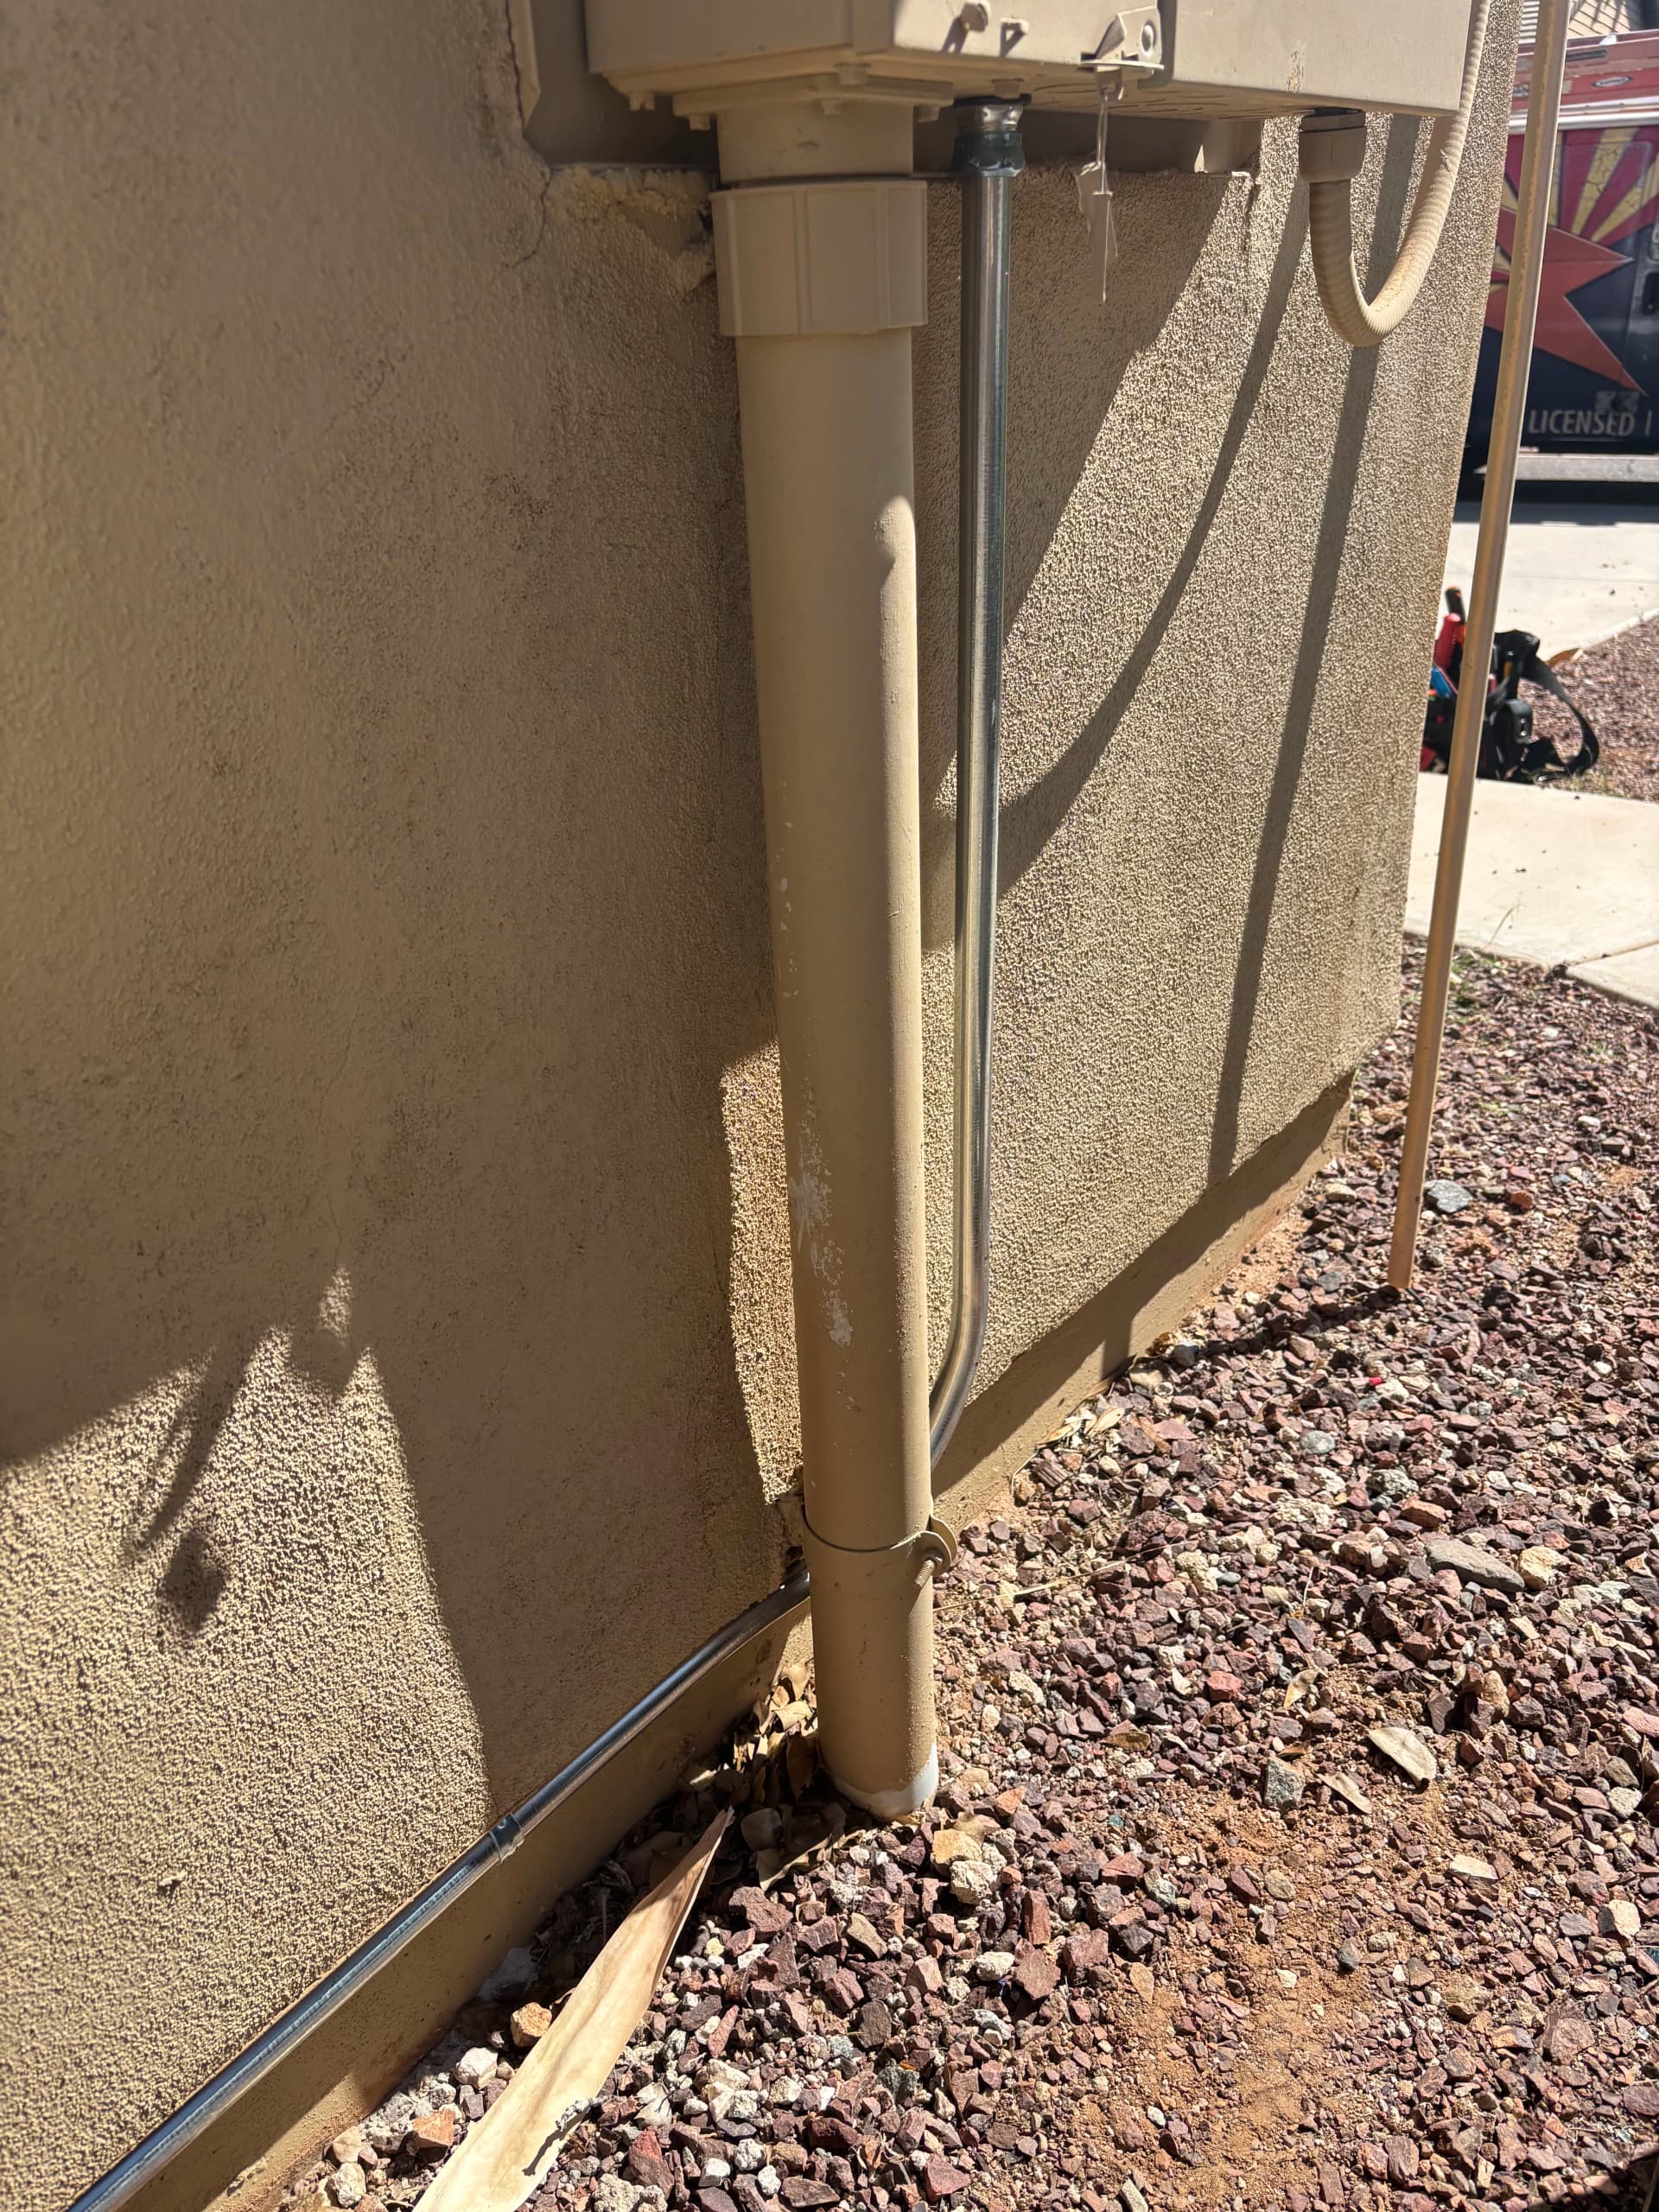
Here's what that looks like. We ran a dedicated circuit specifically for the Tesla charger, added a GFI breaker to keep everything protected, and ran the conduit cleanly along the exterior wall. The conduit run is neat, secured properly, and color-matched close enough to the stucco that it doesn't stick out like a sore thumb. That kind of detail matters.
The GFI breaker is worth talking about for a second. It's a ground fault interrupter - it monitors the flow of electricity and shuts things down instantly if something goes wrong. For an EV charger that's running for hours overnight, that protection isn't optional. It's just part of doing the job right and keeping the install up to code.
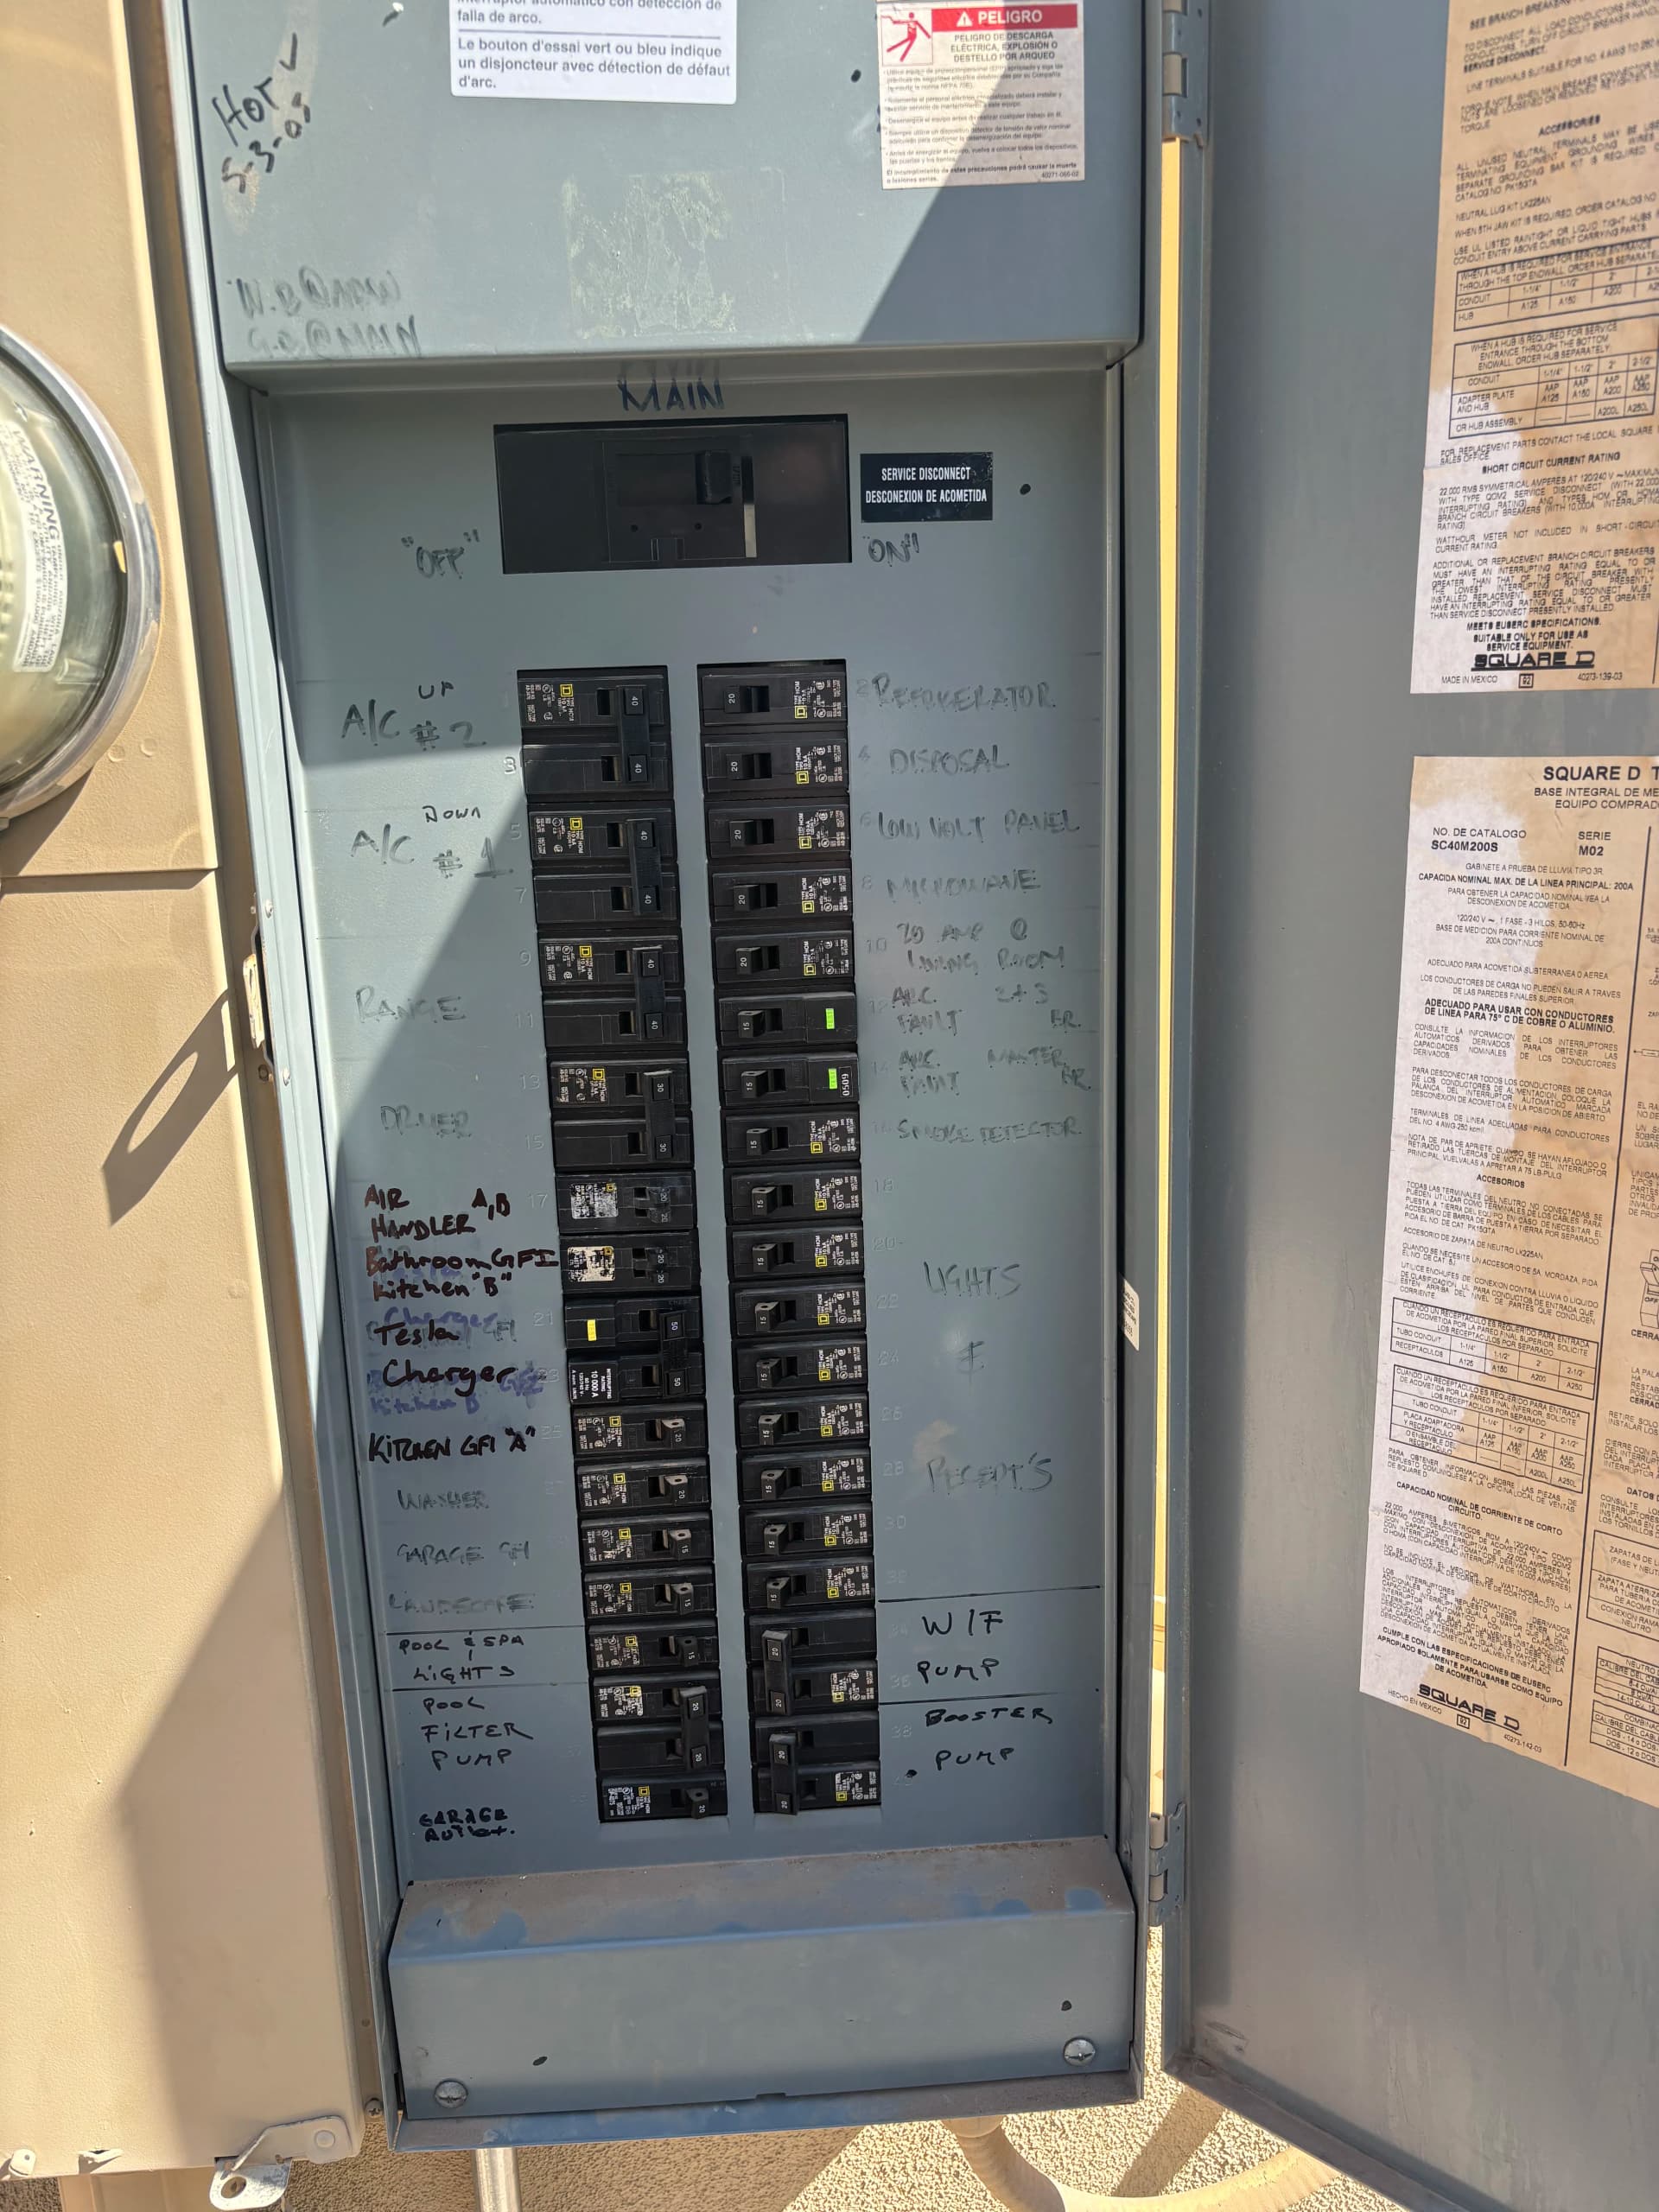
Back at the panel, we added a dedicated breaker labeled specifically for the Tesla charger. The panel already had a solid load running through it - A/C units, pool equipment, appliances - so making sure the new circuit was properly integrated mattered. No shortcuts. Every circuit accounted for.
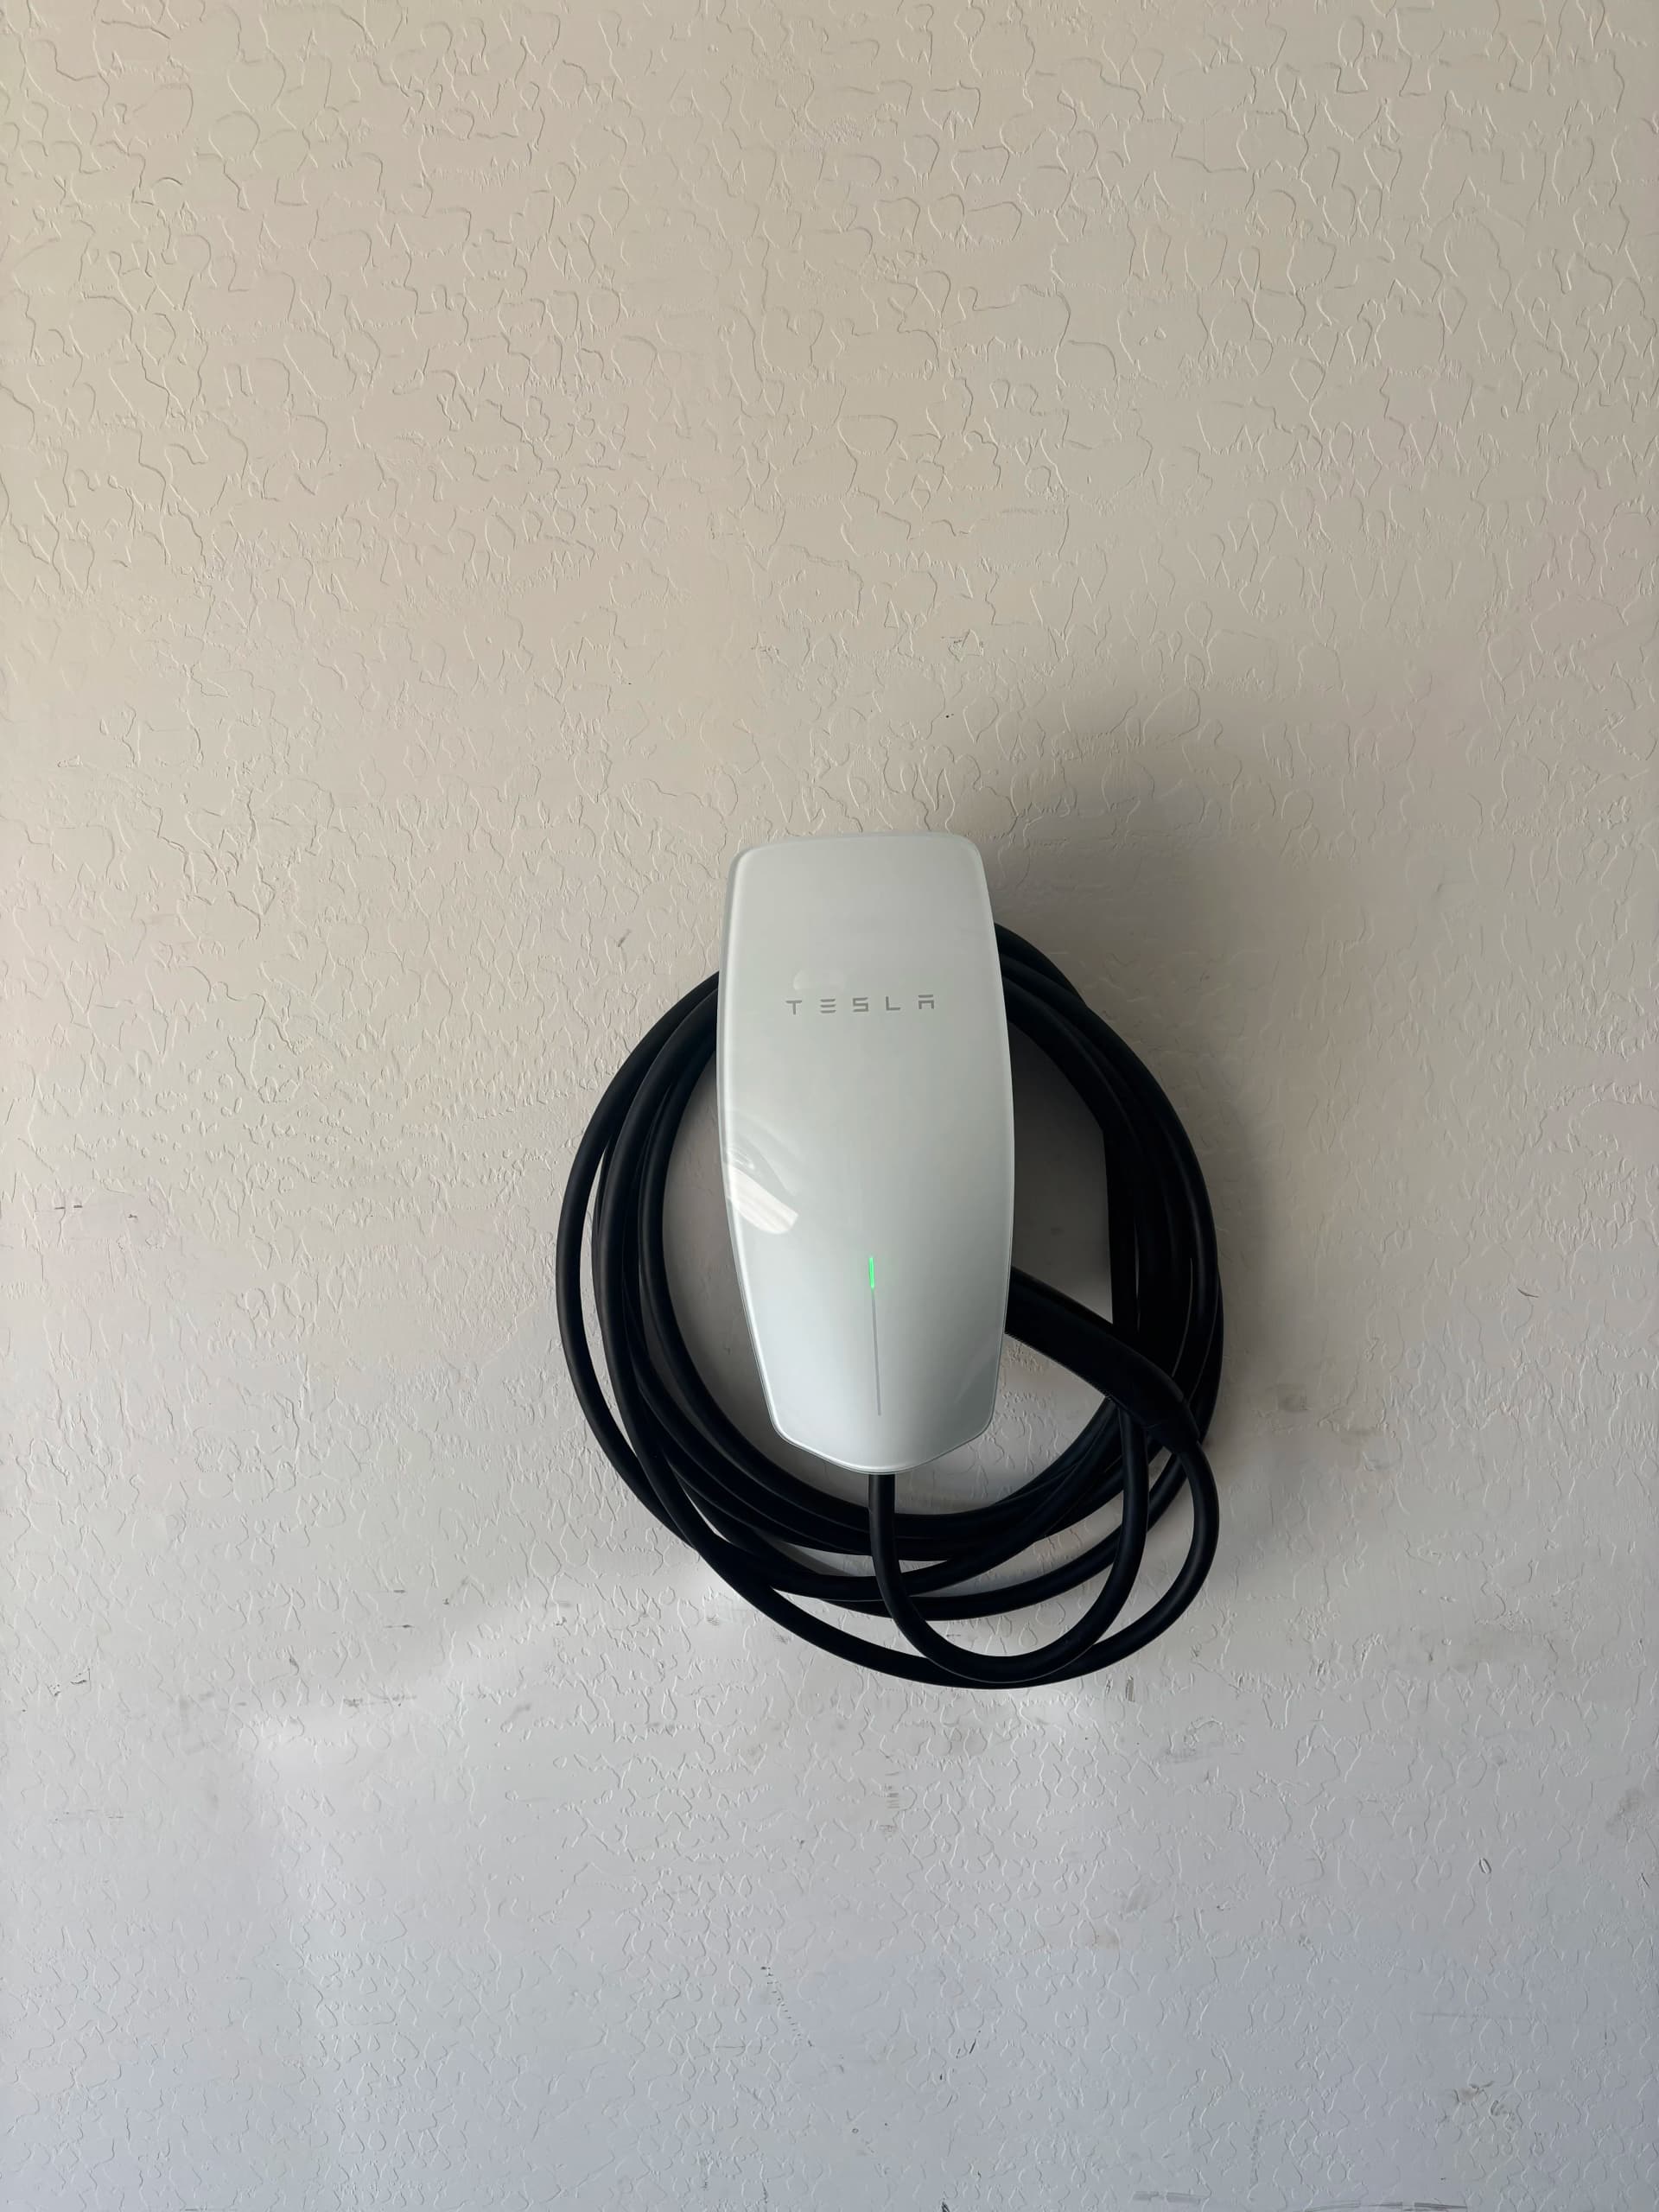
The end result is a Tesla Wall Connector that's properly powered, safely protected, and ready to charge at full speed every single night. That's the kind of setup that actually makes owning an EV at home worth it.